Make Classic Pulled Blossoms
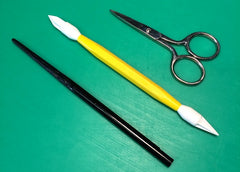
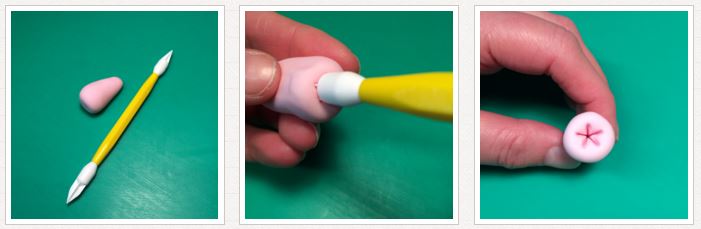
In this blog post I want to show you how to use a very old-fashioned technique to make some quick and beautiful flowers. You don’t need any specific cutters or moulds, just two modelling tools – a Veining tool and a Tapered Cone 5/6 Star tool, and also a pair of fine pointed scissors.
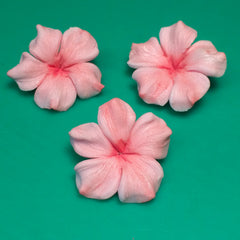
 Pulled flower making
 Pulled flower making
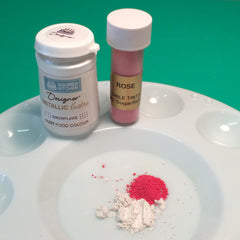
This method is known as pulled flower making as we are literally going to pull the shape of the flower out of the flower paste, it’s sometimes also called finger flower making – you’ll soon see why! You can either make these blossoms with flower paste or sugarpaste with some Tylo powder added (a good guide to quantities is one teaspoon of Tylo powder to 250g sugarpaste). Both work well. I’m using Renshaw Rose Pink Flower and Modelling paste.
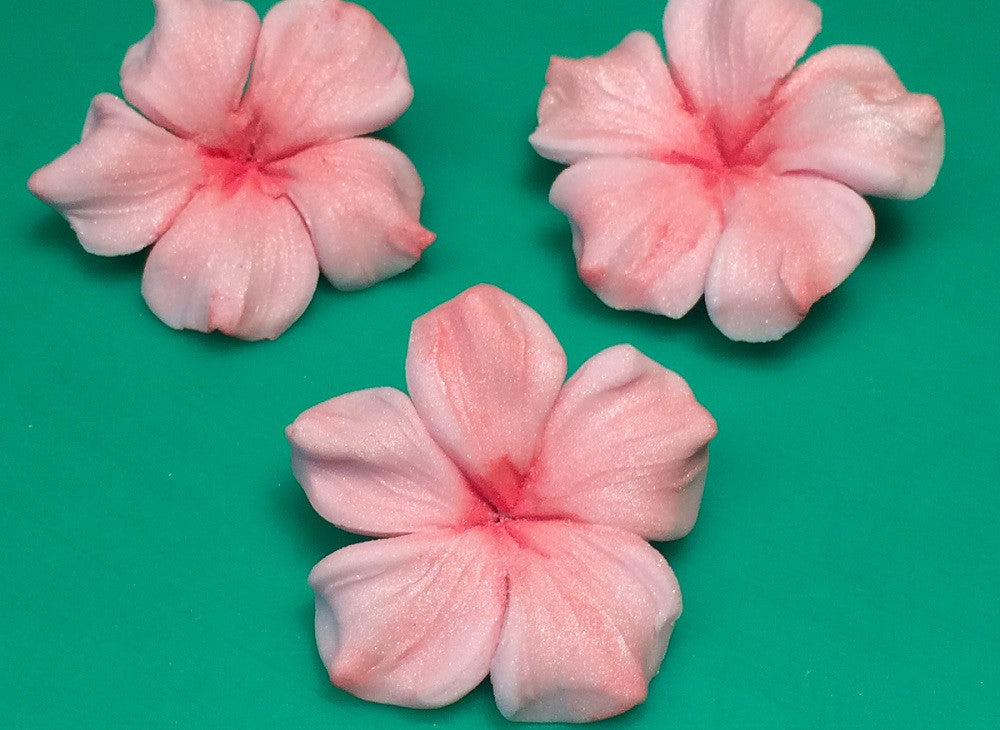
Pinch each petal gently between your thumb and forefinger to flatten slightly, this will make veining slightly easier. Now holding the flower between your thumb and forefinger take the veining tool and roll it gently across each petal against your forefinger to create the veining pattern, this will also thin your petal a little more. If the flower paste is sticking to your finger just rub a little white vegetable fat on your finger to prevent this from happening.

Repeat with each of the petals. Reinsert the star tool to create a defined centre to the blossom.

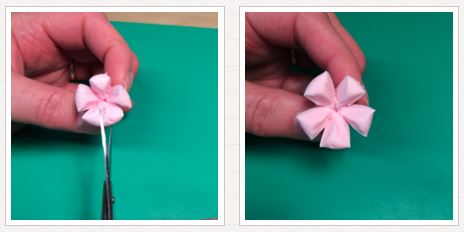
Then gently pinch the edge of each petal to create a more defined shape.

Finally cut the flower paste at the base of each blossom, cutting at a diagonal will make the flower sit better on your cake.
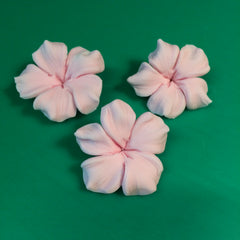
I have dusted my blossoms with a mixture of Snowflake and Rose dusts, but the alternatives are endless!